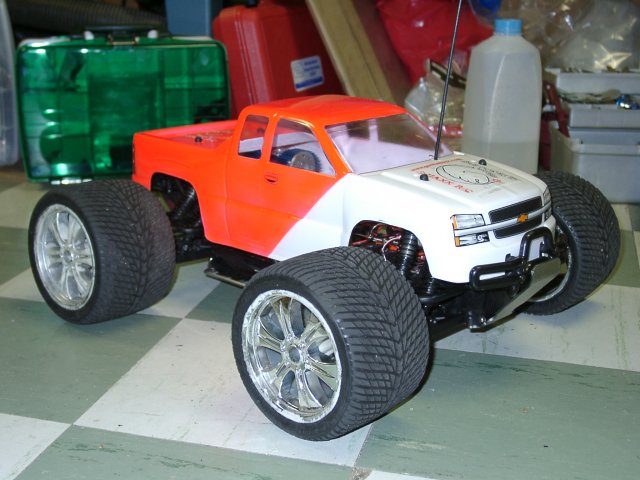
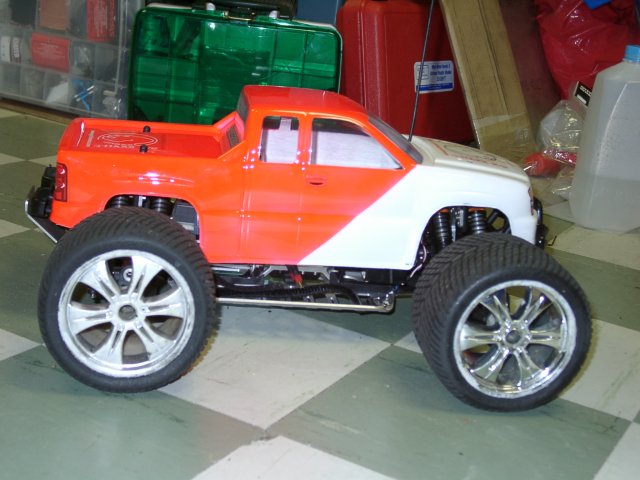
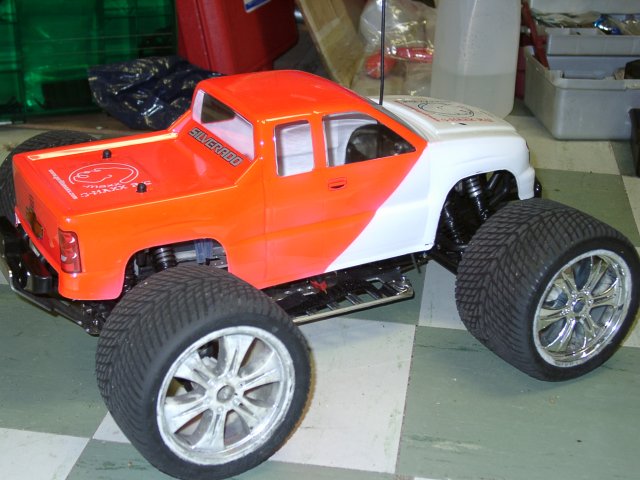
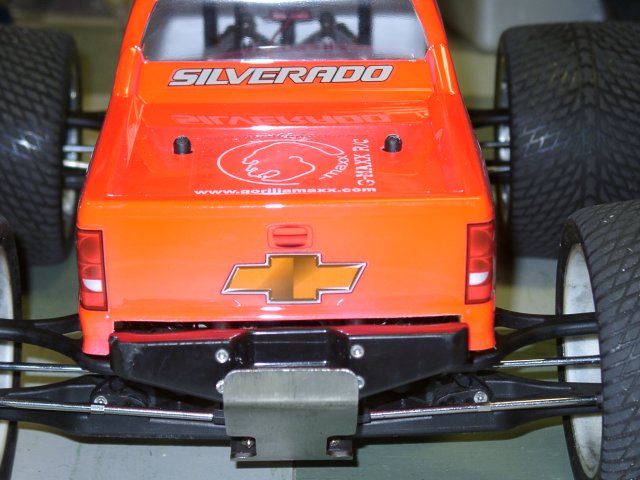
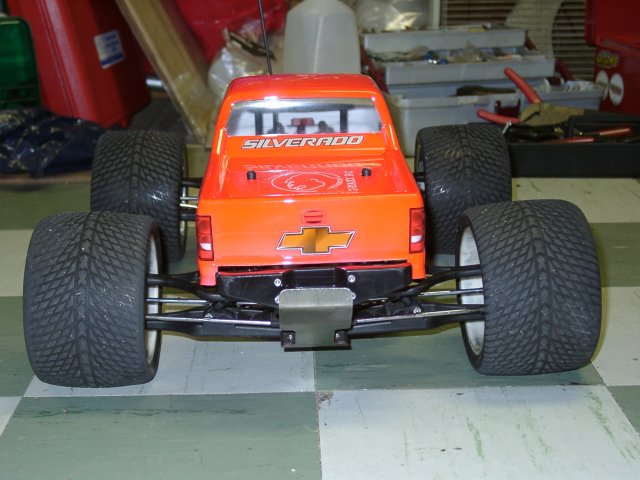
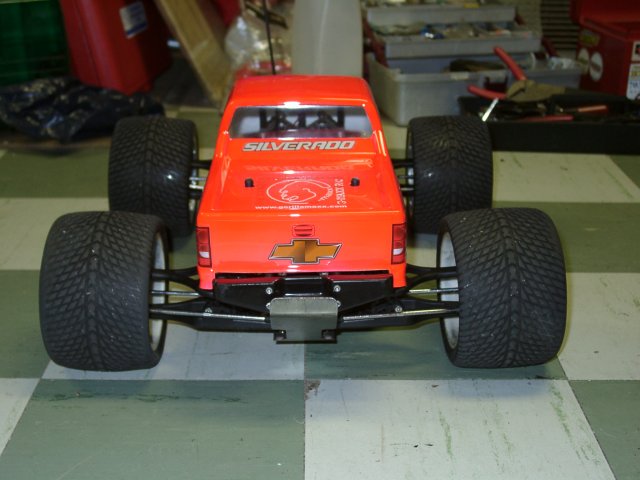
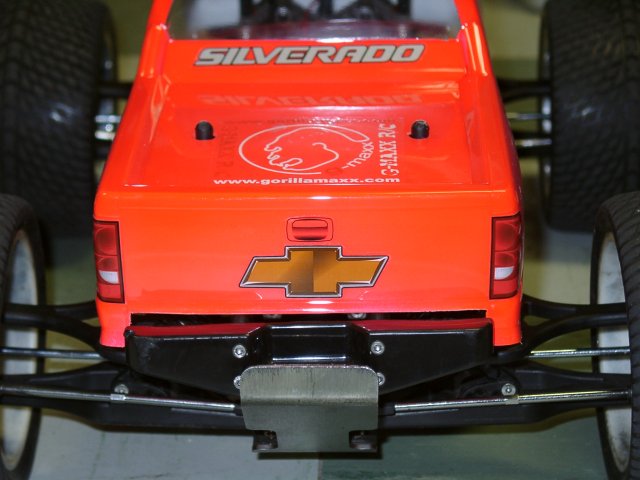
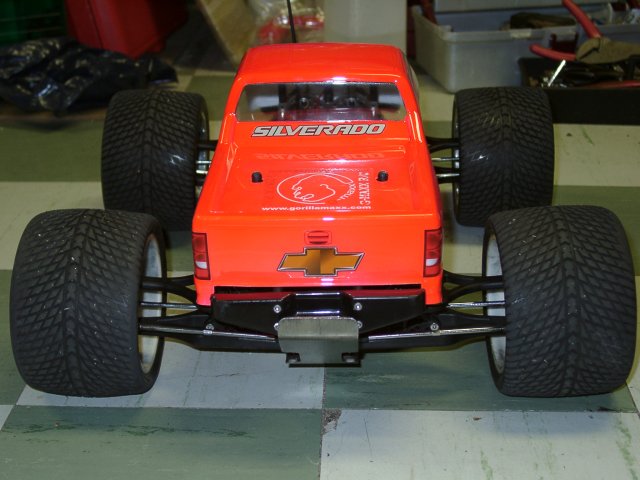
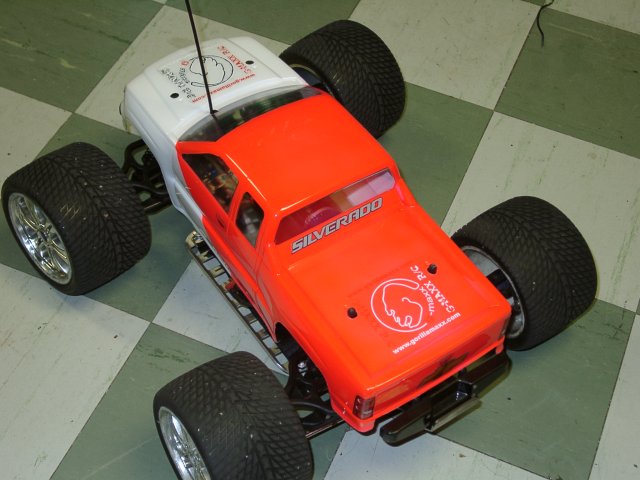
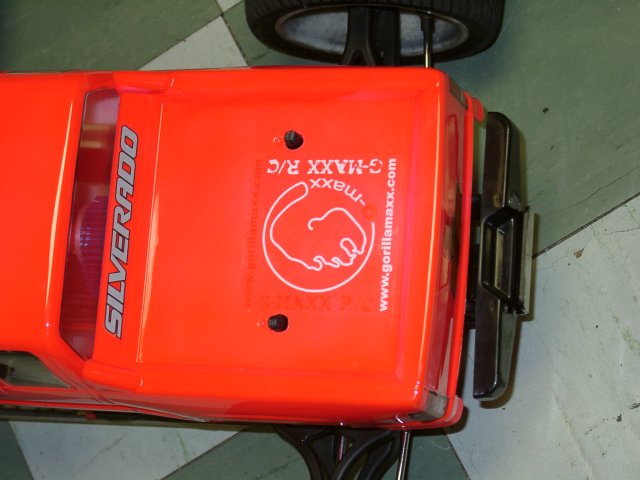

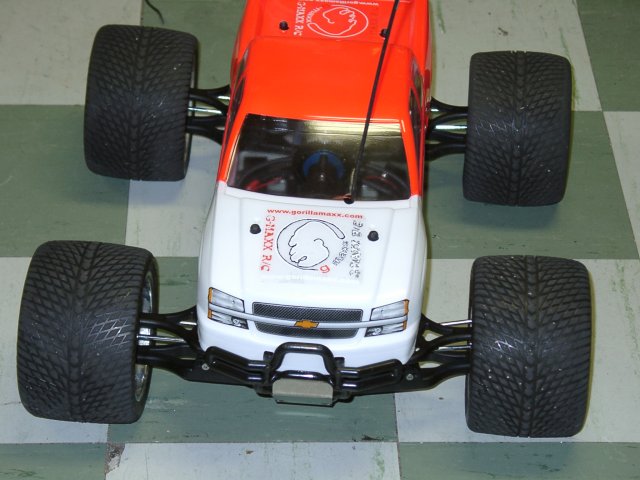
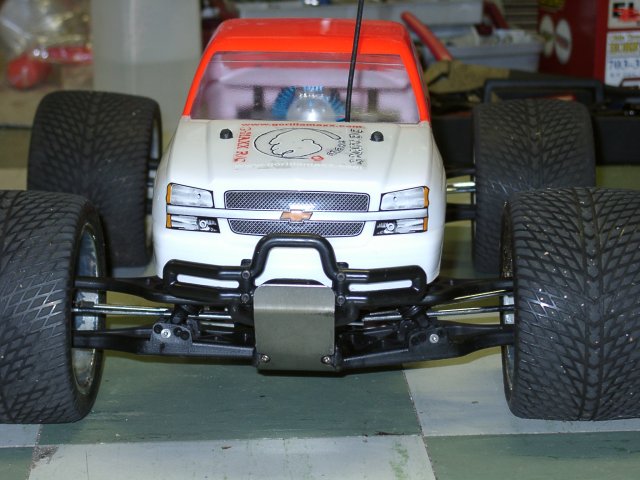

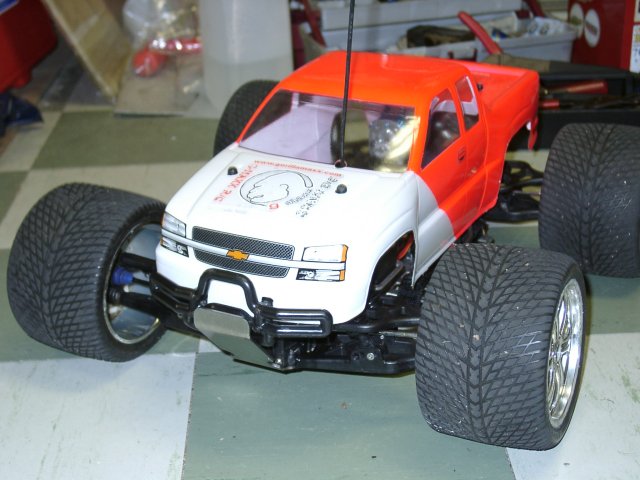
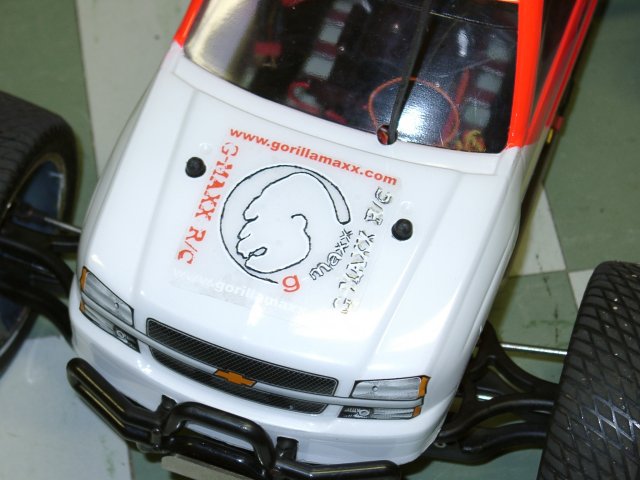
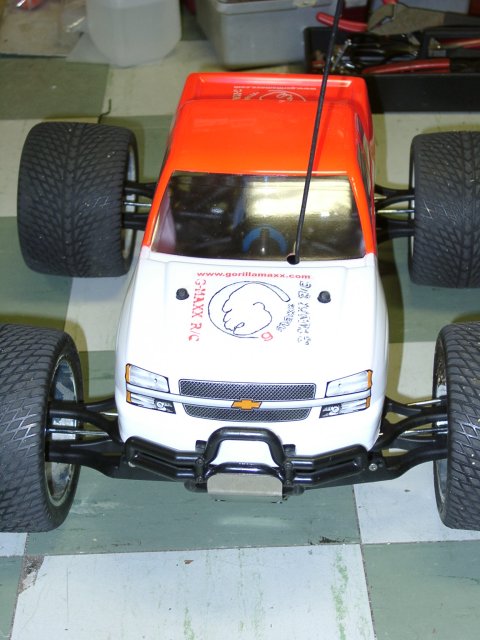
 Different pics of my Chevrolet 2004 Body on truck
My Gorilla-Maxx Truck I am Building for 2004
All of the truck was sold by the end of
August 2004
It was a fun project and a learning experience
I am just in the starting stages of showing off things I am doing as I build this truck.
I wanted to do a step by step while I was building the truck, but I got ahead of myself and didn't get pictures taken when I should have and will be adding things as I remember to take pictures and as I add and change things.
First off I have to thank George of Gorilla Maxx for all his help he has given me with this project. He has been MORE then helpful every time I have had a question, and can answer all your questions about your Electric Project you might want to build
For My Motor, and Pinions I want to thank Jamie Baker of Starluck RC drop him a note if you have any Motor Needs
Below you will find just a few of the pictures of my Electric Project truck and more Will be added
(Click the photos to get a better view)
Different pics of my Chevrolet 2004 Body on truck
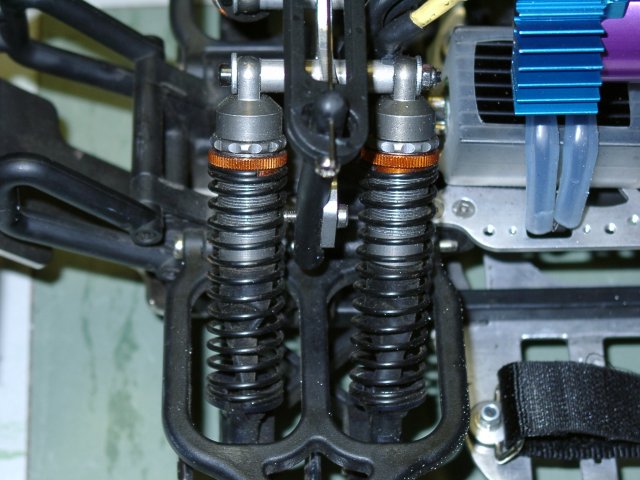
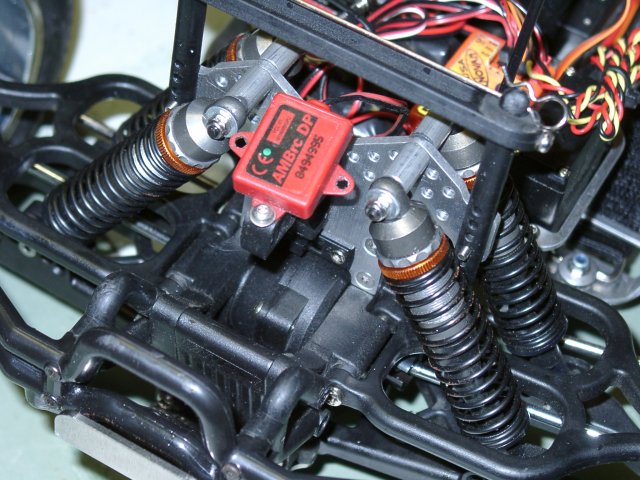
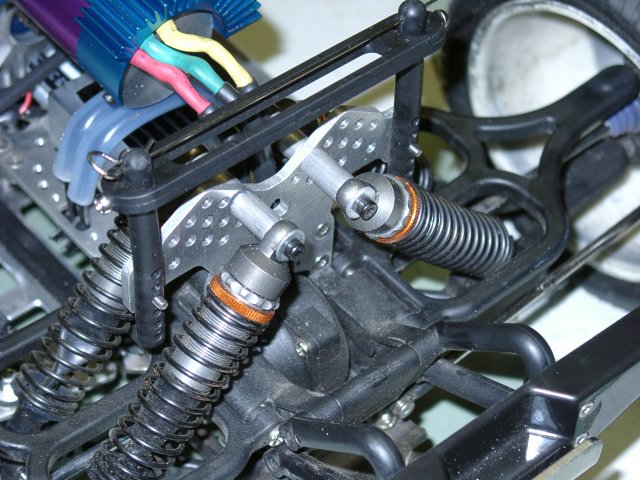
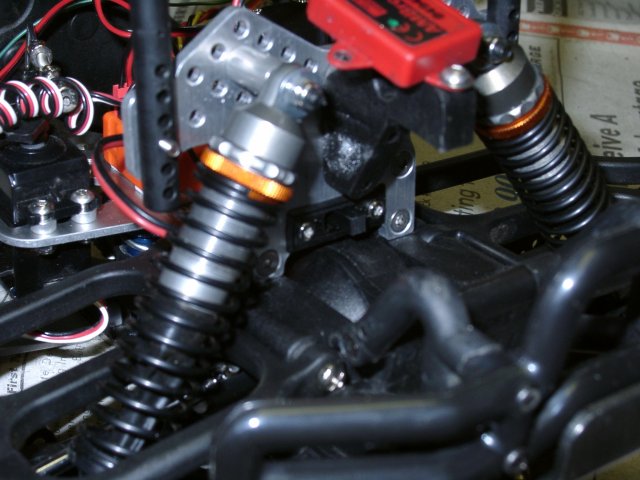
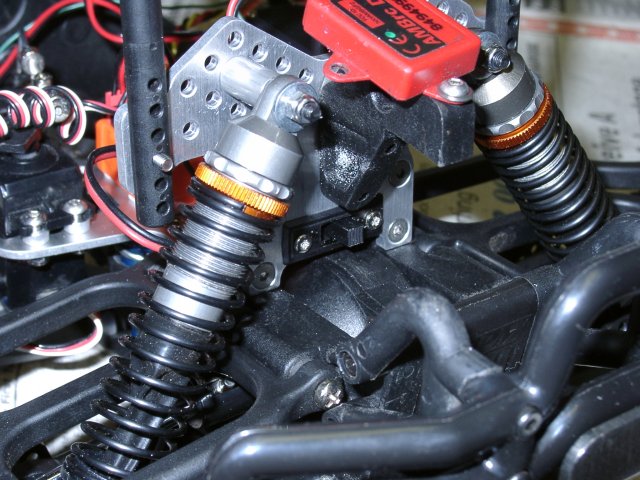
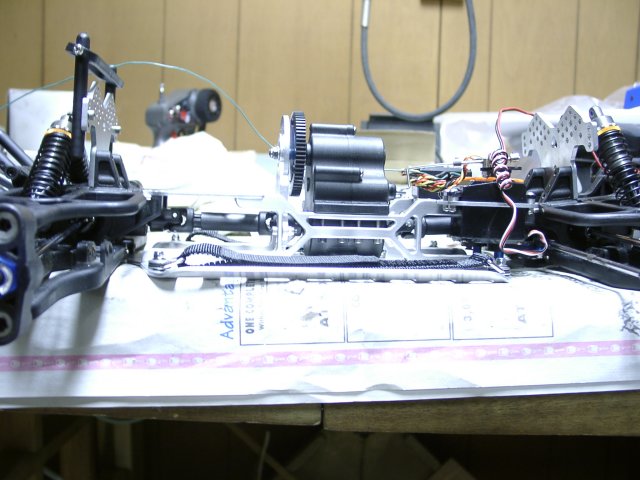
Showing how I went to 8 shocks over the 4 setup
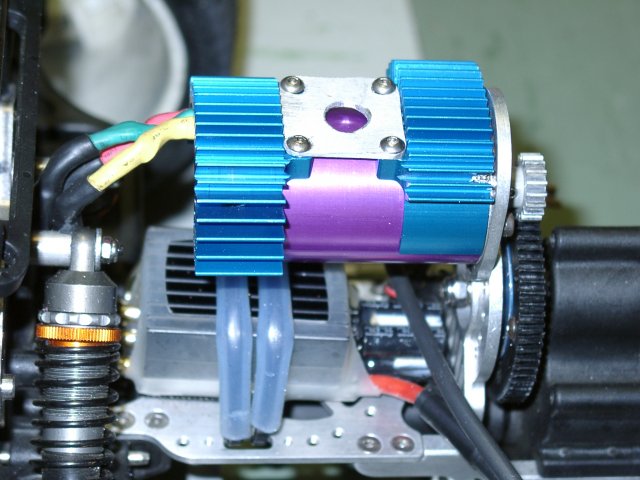
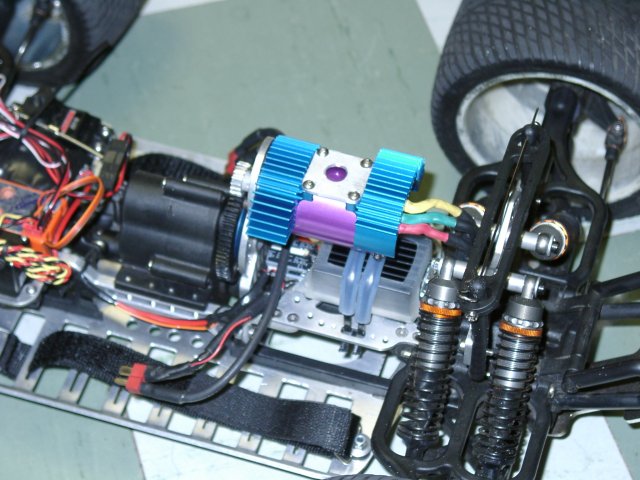
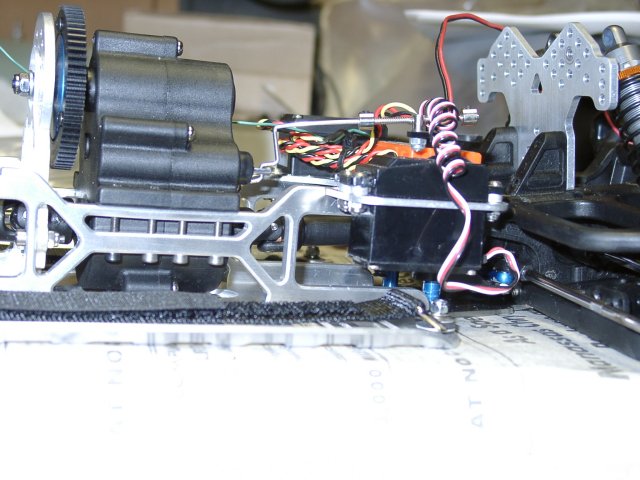
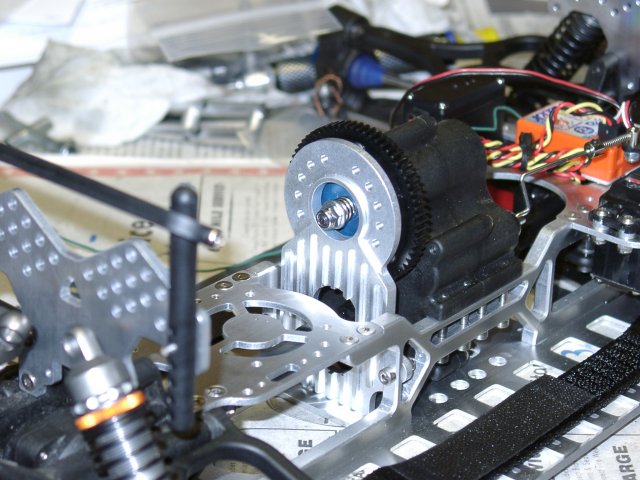
Motor with Twin Heatsinks and aluminum brace
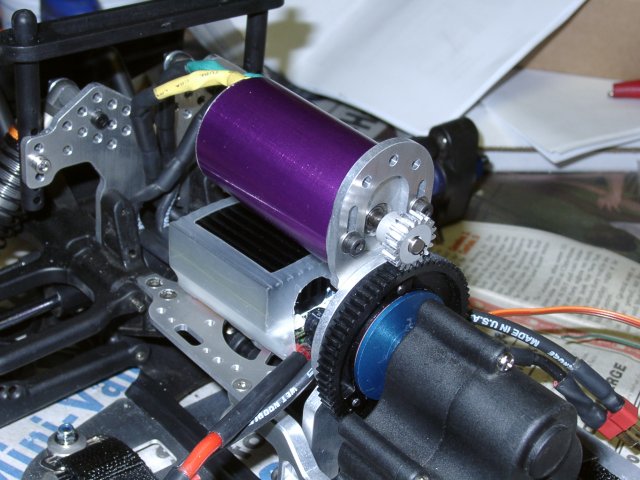
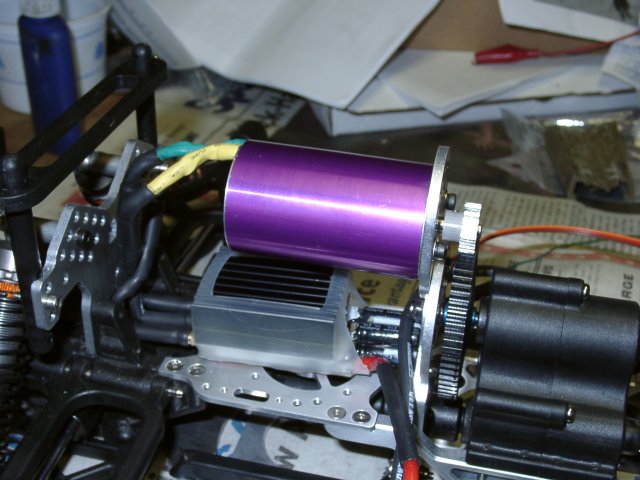
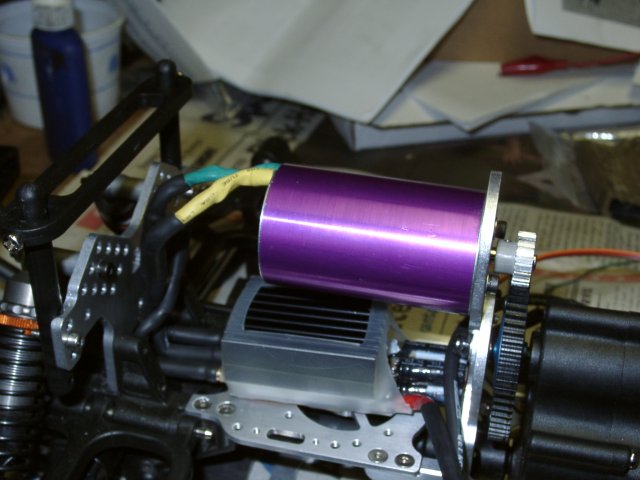
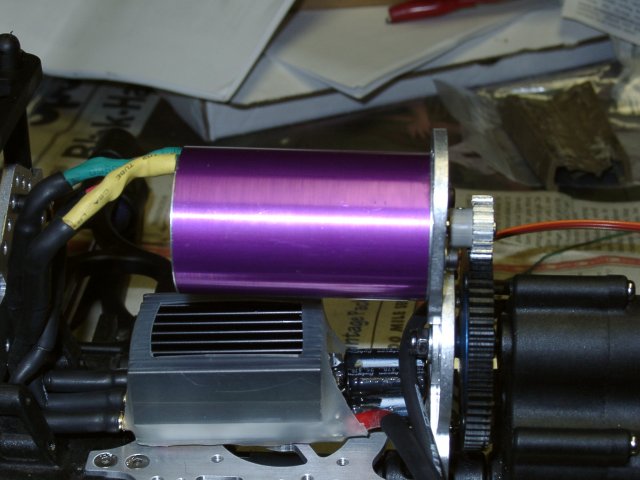
Nemesis 8L Motor
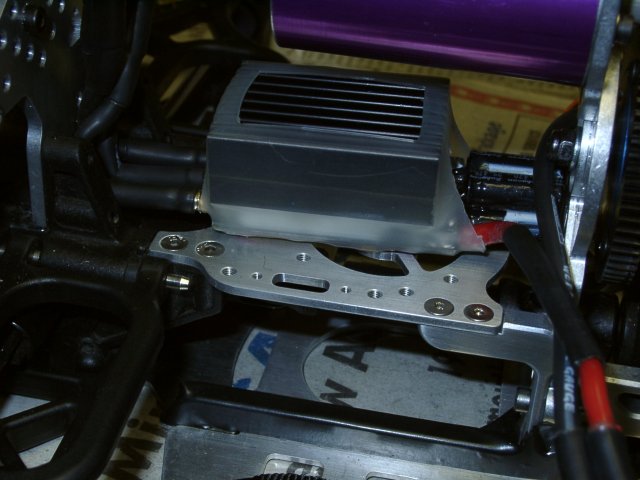
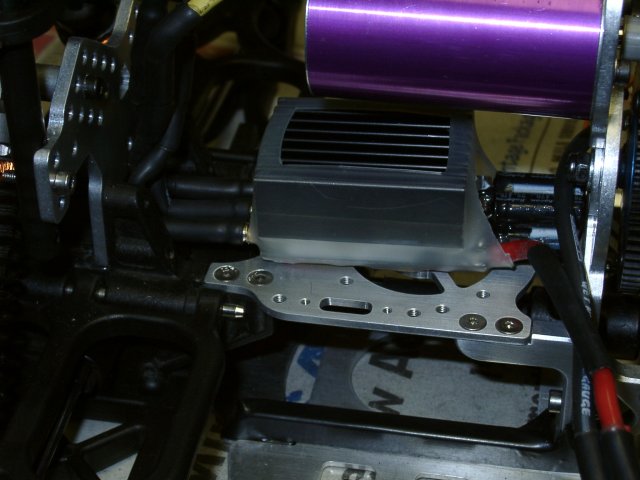
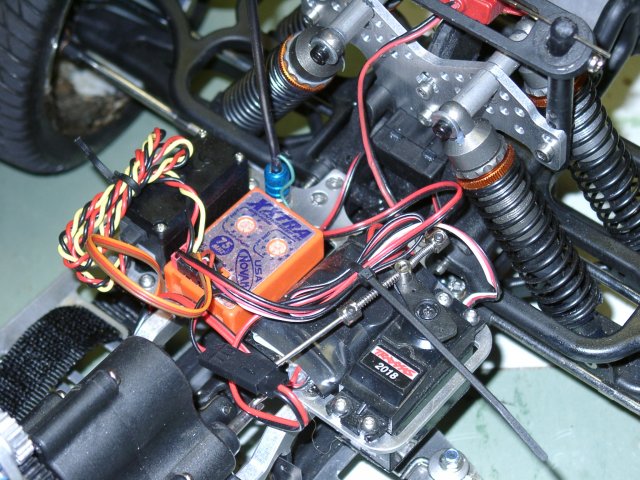
Schulze 18.97KWF Speed Controller
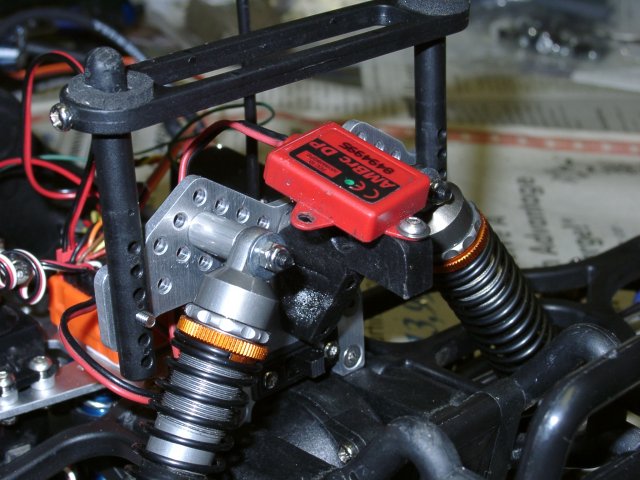
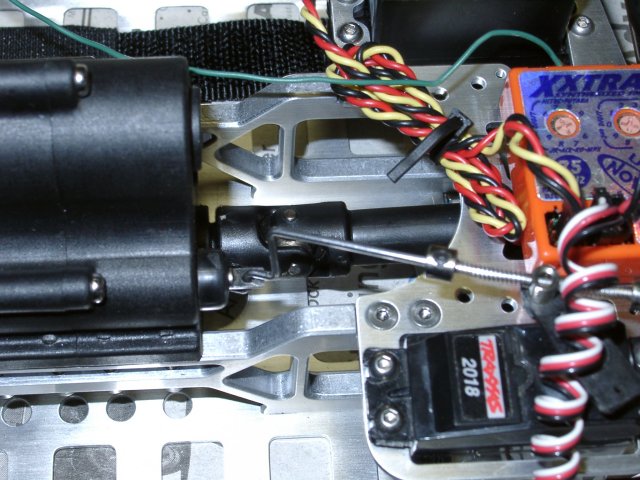
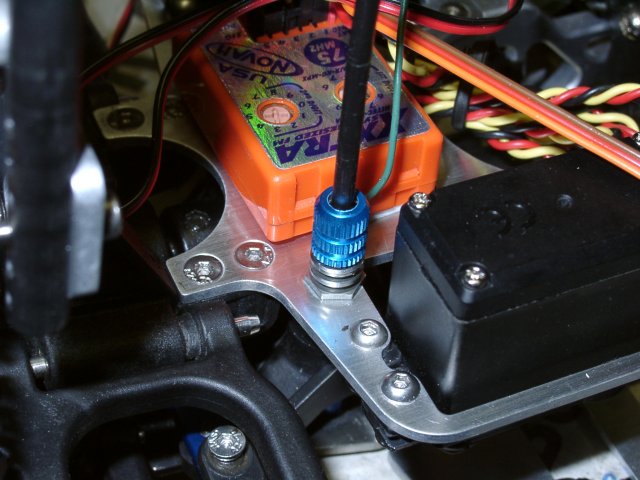
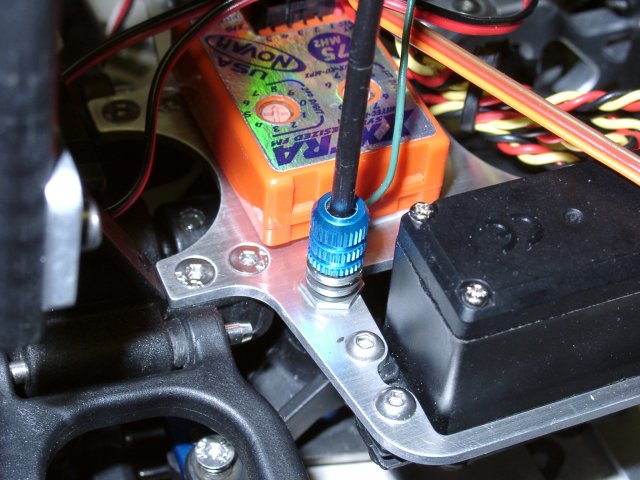
Pictures of how I made a mount to hold the AMB personnel transponder
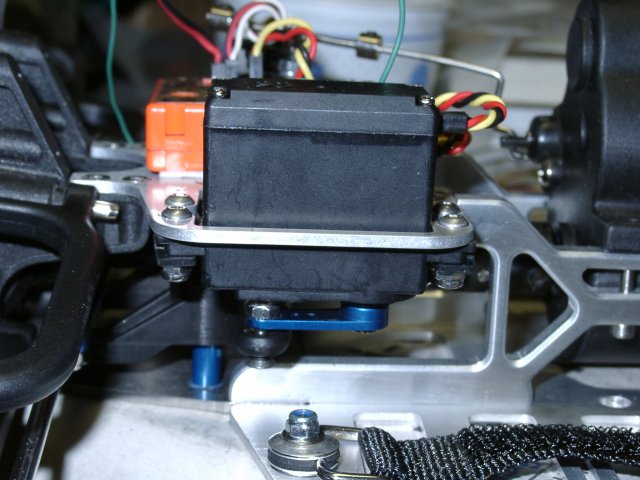
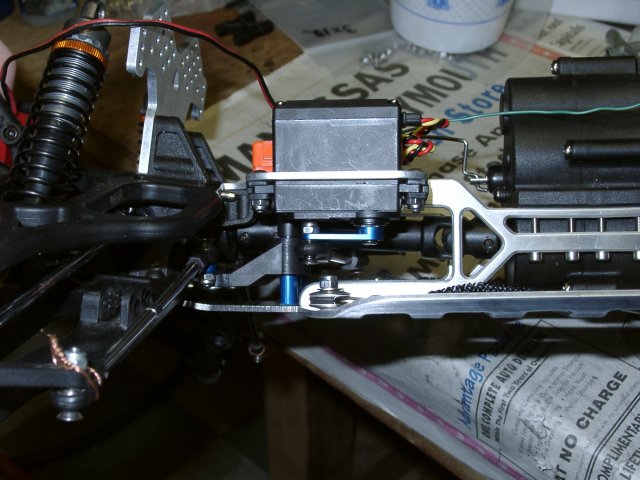

Futaba Digital Steering Servo and Pro-Line Servo Saver
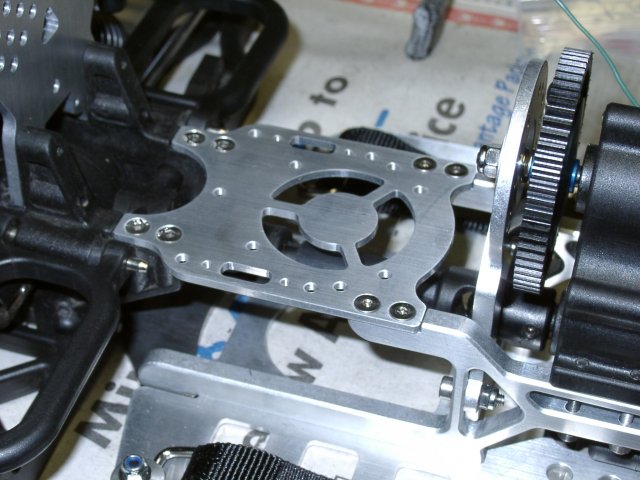
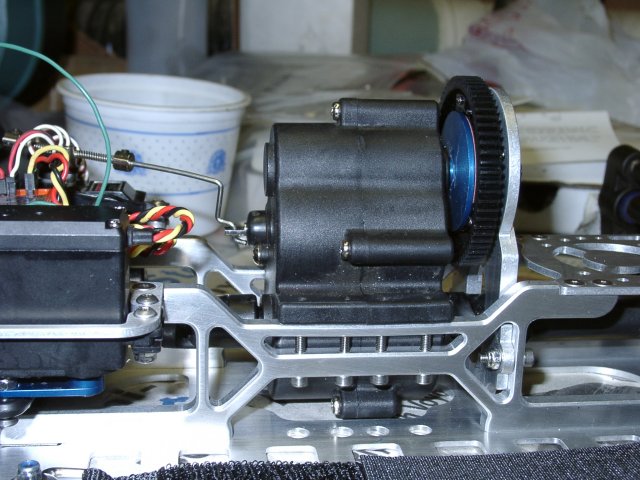
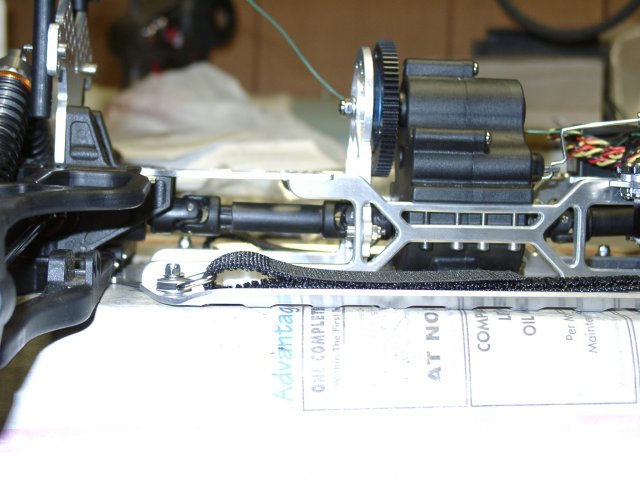


Transmission mount, Longer Driveshaft I made from the Stock Axles for more
strength
I used a Robinson Racing Double Slipper clutch to help get the power to the
transmission

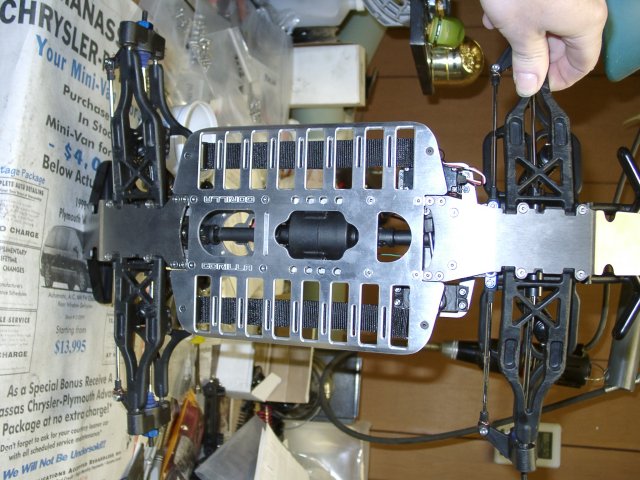
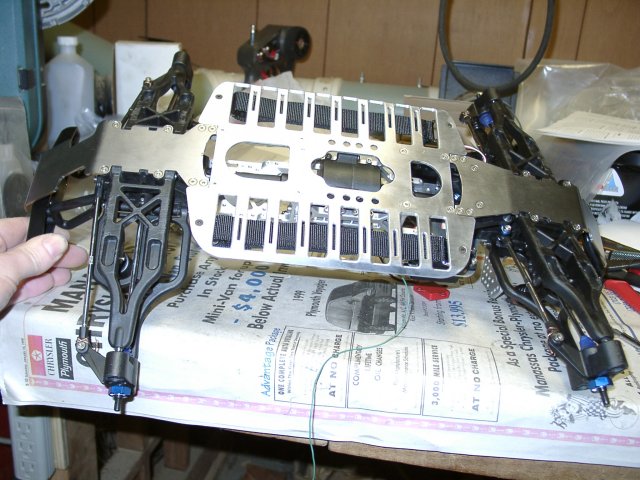
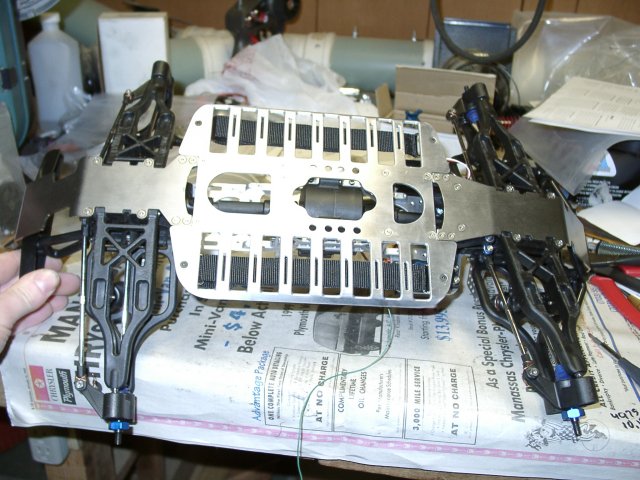
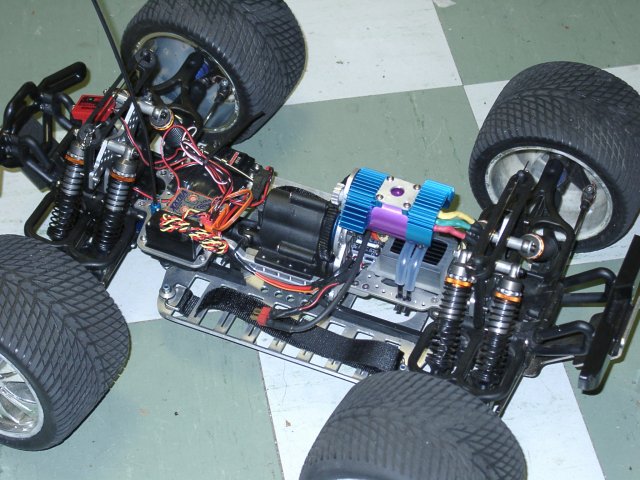
Chassis and skids mounted. I went with Stock arms and Hardcore Skids
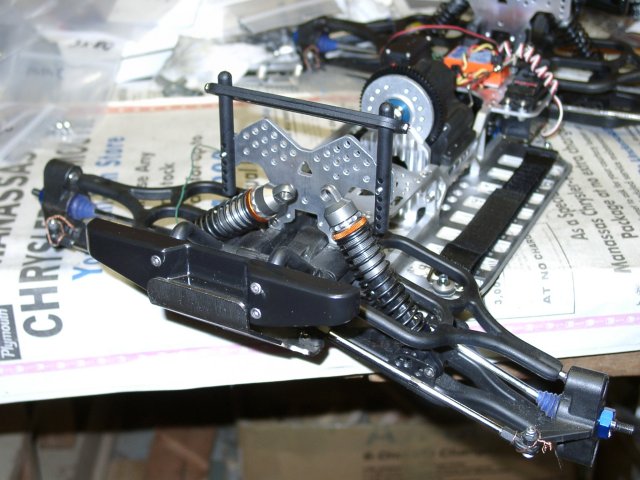
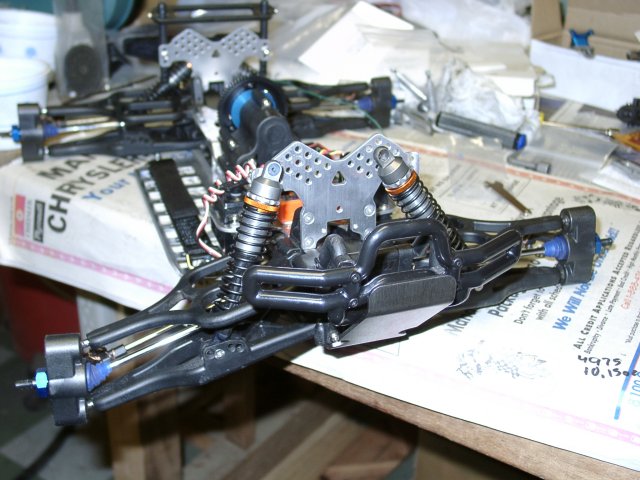
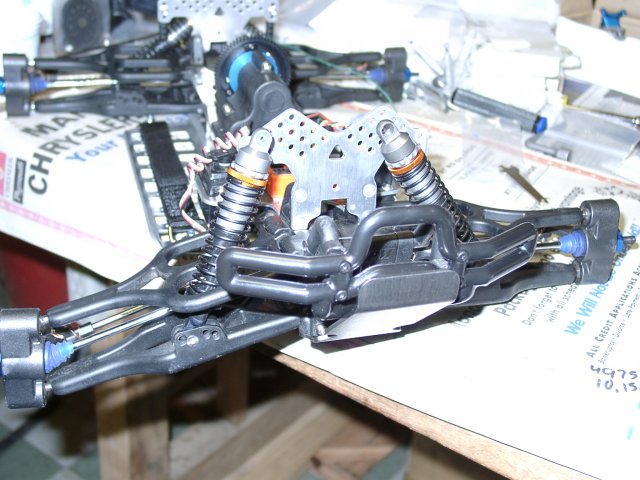

Showing the first stages of the suspension, I was going to put just 4 shocks on
it, but ended up with 8 to get a firmer ride
and to keep body roll down. Used Ofna Titan shocks all the way around. With the
Gorilla-Maxx Shock mounts you are
able to have unlimited mounting positions, very nice.
You will see that the batteries are held in place with Gorilla-Maxx Velcro
battery straps.
Pictures of aftermarket Antenna Holder