|
THE TOOLS |
||||||
|
|
NTC3 STEERING RACK MODIFICATION |
|
for Associated TC3 |
| This is how I made the
modifications to my TC3. You will find many pictures of the different
steps of the mod and the tools I used. This idea is not mine, don't ask me
who's original idea this is because I don't know. I read about it on
numerous R/C forum and decided to do it to my car. I just wanted to show
exactly how I did it since I didn't find any "How to's" on the web.
Why do it? Because the steering rack of the TC3, though it is a nice concept, tends to get dirty quite easily and binds up in carpet fuzz, dust or pebbles. The amount of slop in the TC3's steering rack, even if there's not much, is undesirable. Safety! PROTECT YOUR EYES, WEAR A DUST MASK and take your time. |
|
After viewing a supersized image, use your browser's "BACK" button to get back here. |
|
PARTS NEEDED From Associated, you will need parts bags #2229 (swing rack hardware) and #2228 (swing rack). If you want your steering rack to be on bearings instead of bushings, you will need the parts bag #1714 (NTC3 swing rack bearing kit). |
|
THE TOOLS |
||||||
|
| This modification is to replace the stock TC3 steering rack system on the left for the NTC3 steering rack system on the right (fig. 3). To be able to install the NTC3 rack, I had to remove the chassis' ribs marked in yellow (fig. 4). | ||||
|
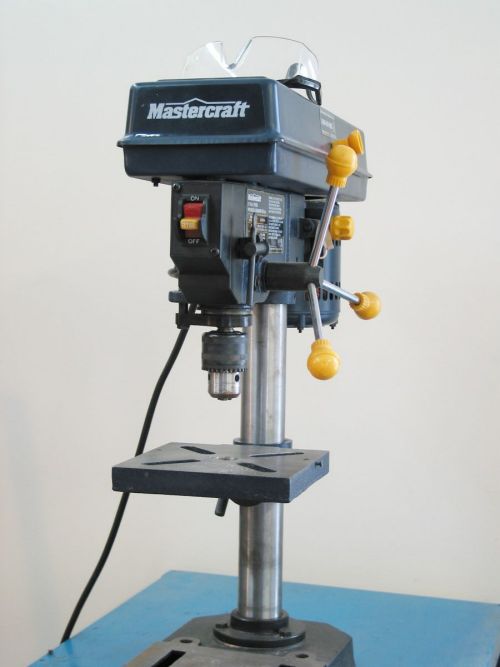
| I installed a Dremel high speed cutter bit #115 in the drillpress' chuck, set the motor to 1100 RPM and set the depth of the bit so it barely touches the chassis' floor. I started plunging the bit to remove the material (fig.5). I moved the chassis to remove another portion of material, repeating this process several times until all the ribs marked in yellow were gone (fig. 6). | ||||
|
| Some material has to be removed from the chassis' sides (fig. 7 and 8) to make room for the turnbuckles (fig. 9). I did this with a Dremel rotary tool equipped with the Dremel carbide cutting bit #9012. | ||||||
|
| Two 7/64 inch holes have to be drilled at the locations shown in fig. 10. Be as precise as you can in this step and follow the measurments exactly. The holes have to be countersunked from underneath the chassis for the two flathead 4/40 screws that secures the whole rack system. A drill bit like the one in fig. 11 is great for countersinking neatly. Once this is done, you can put the two posts from the hardware bag (fig. 12). | ||||||
|
| If you chose to mount the rack on bushings, use a good quality oil to lubricate them. A small drop is enough. If you chose to use the bearings, clean them well before putting a drop of good quality oil in each one. Mount the whole system on the posts. This is where you'll see if you made the holes correctly. The steering rack should move freely from left to right, it should be centered in the chassis and it shouldn't look crooked (fig. 13). | ||
|
| The finished modification (fig. 14) looks pretty nice and works very well. There's no slop and this rack will not gum up and bind on carpet fuzz or dust. Some say that the NTC3 steering rack adds too much ackerman. I just know that it works great and the car handles very well with this system installed. I suggest using the original black ballcups from the TC3 kit in the places you see on the picture. When I tried to swing the rack with RPM ballcups, I found out that they would knock on the rack's black plastic nuts preventing the wheels to turn fully. Also notice that I repositionned the servo 3/16 inch to the back so that the turnbuckle snaps in front of the servo arm. All you have to do is drill and countersink two 7/64 inch holes, 3/16 of an inch behind the original ones. | ||
|
|
Back to TC3 page |